PVC Coated Wire Fence

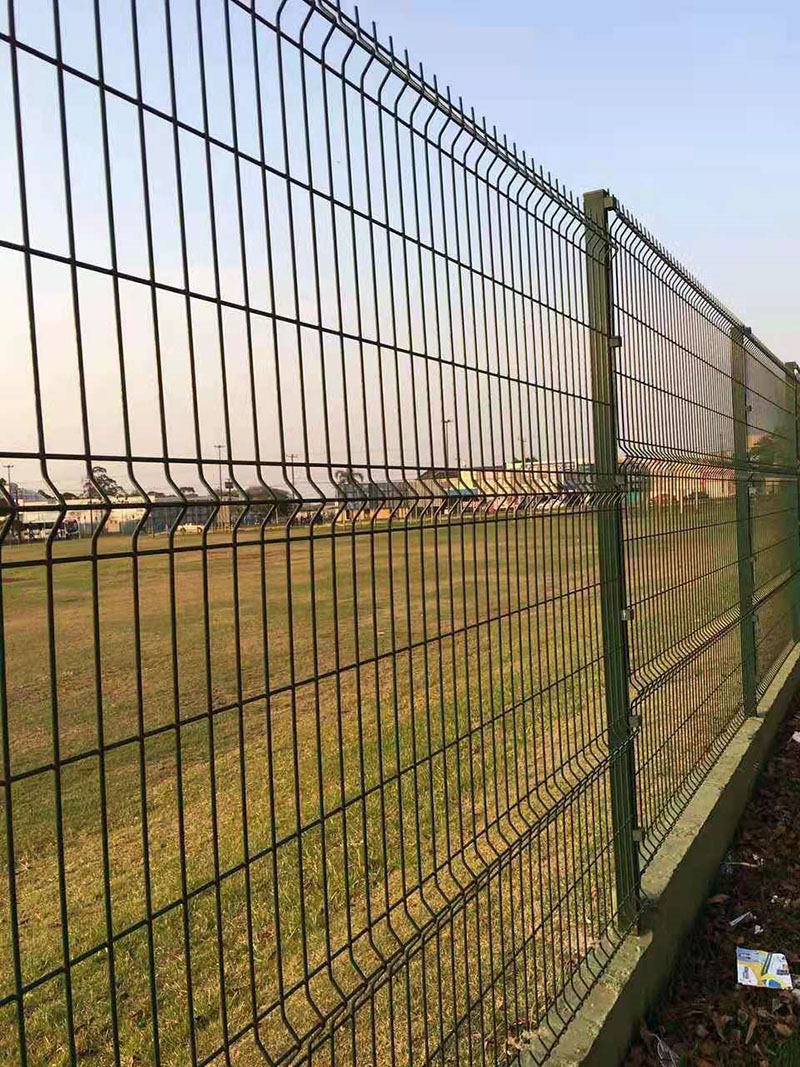
Wire mesh fence is one of the most important ways to keep your home safe and secured from all forms of attacks by armed robbers and so on. They are very affordable and inexpensive that is why we see most homes using wire fencing for their walls and also very durable and easy to make and fix on fences. There are different and various types of wire fencing that are used for different purposes and it is therefore mostly difficult to make up your mind on what type of it you will want to use.
Application: expressway, railway, garden fences, decorative fences, high security fences, etc.
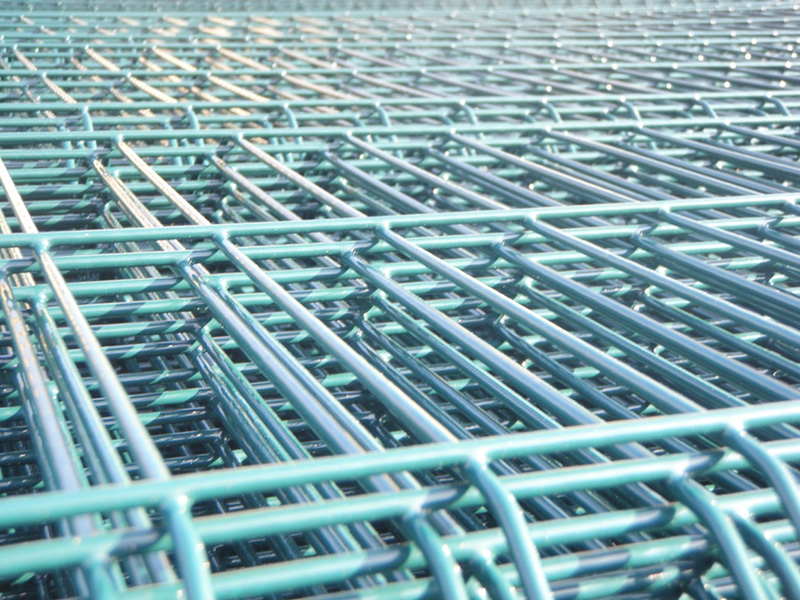
Property: corrosion resistance, aging resistance, sunshine resistance and weather resistance, etc.
Advantages:
1) Fence posts made with concrete pouring, with low cost.
2) High strength, good overall stability.
3) Color plastic coating/spraying layer has a good anti-corrosion and decorative effect.
4) The fence perimeter has a harmony and good outlook.
1.Material: low carbon steel wire Q195
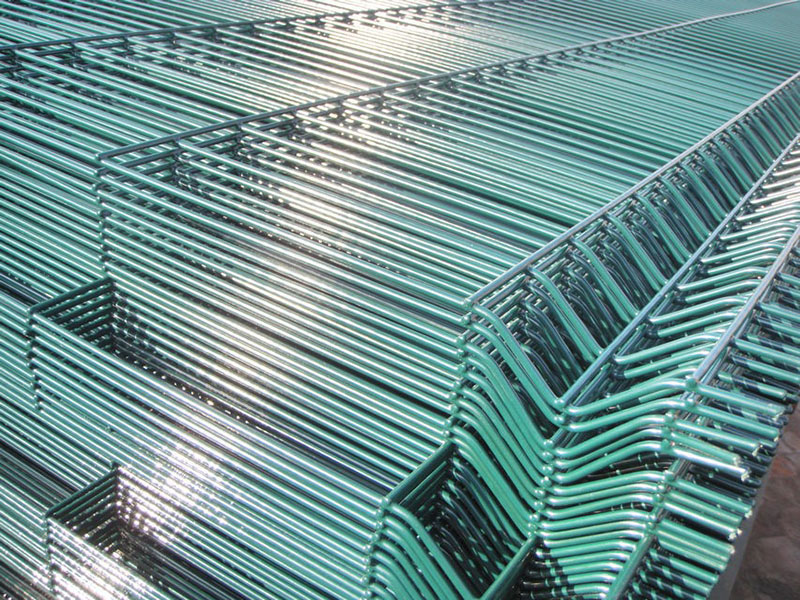
2.Process:Welded---making folds/curves----parkerising---electric galvanized/hot-dipped---PVC coated---packing
3.Color:green,white,black,etc. Dark green is most popular for exporting.
4.Common Specification of Fence Panel:
The Common Specification of Fence Panel | |
Wire diameter(mm) | 3mm—7mm,4mm,5mm is most popular choice |
Mesh/Opening(mm) | 50x100/50x150/50x200 as your request |
Length of panel(m) | 2m,2.5m or as your request |
Height of panel(m) | 1m,1.2m,1.5m,1.7m,1.8m,2m,2.5m, as your request |
Surface treatment | Hot-dipped Galvanized then PVC coating Electric Galvanized then PVC coating |
Special specification can produced as your request | |


5.Common Specification of Fence Post
Specification of Square Post | |
size | 40*60mm,40*40mm,50*50mm,60*60mm, 80*80mm |
thickness | 1.2mm,,1.5mm,2.0mm |
height | 1.8m,2.1m,2.3m,2.5m or as your request |
Surface Treatment | Hot-dipped/Galvanized then PVC painted |
clips | Plastic clip, metal clip |
Specification of Round Post | |
diameter | 38mm,40mm,42mm,48mm |
thickness | 1.2mm,,1.5mm,2.0mm |
height | 1.8m,2.1m,2.3m,2.5m or as your request |
Surface Treatment | Hot-dipped/ Electric Galvanized then PVC painted |
Specification of Peach Post | |
size | 50*70mm,70*100mm |
thickness | 1.5mm,2.0mm |
height | 1.8m,2.1m,2.3m,2.5m or as your request |
Surface Treatment | Galvanized then PVC painted, hot-dipped |
How to Install Wire Fencing?
1.Check for underground utilities. This is important before you start digging holes for the fence posts because power, fiber-optic or other cables may be present around the area of your fence.
2.Mark your fence line. First you must decide where you wish to erect the terminal posts and gate, the bay area (the spaces between the posts) and where you will install the plastic coated fence panels. To do this, run a roll of string along the imaginary perimeter of your fence, taking into account all fence corners.
3.Review your marked fence line. Before proceeding, check the fence line that you marked with string earlier to ensure that you have included markings for the fence gate and all corners. Make the necessary adjustments where required. When planning all bay areas, you may decide whether to set up an infill for privacy, or a series of rails.
4.Mark the corner posts' locations. When you have reviewed your fence line and have made all necessary adjustments to your satisfaction, tie a string between the 4x4 corner post locations. Then finalize the measurements of your plastic coated fence panels accordingly.
5.Apply the measured panels. When you have measured the length of your panels, use a stake in the ground to apply them to the line posts' location. For example, for 6 foot panels set up 5 inch x 5 inch posts. Make sure the stakes are in physical contact with the layout string marker in order to keep the posts aligned. When doing so, keep in mind where the gates or other breaks in the fence are supposed to be.
6.Dig final holes for fence posts. Before you do so, you must decide what height you wish to have your fence and dig the holes to a suitable depth accordingly. A diameter of 10 inches is advised when digging your post holes. Now pour 6 inches of gravel into each hole.
7.Fill all post holes with concrete. Follow instructions regarding the drying process and use of the concrete, before you do this.
8.Insert posts into concrete. Use a mallet or hammer to tap the posts down into position and ensure they are aligned. Before the concrete dries, make any necessary adjustments.
9.Install plastic coated panels. Attach rail brackets to the fence posts, then, slot the panels into these brackets. Use bolts and screws to fasten the panels to the hangers.
10.Install the gate. When doing this, ensure that the gate and fence are aligned at the bottom. Leave about 5/8 inch space between the gate and the two posts on either side of it.